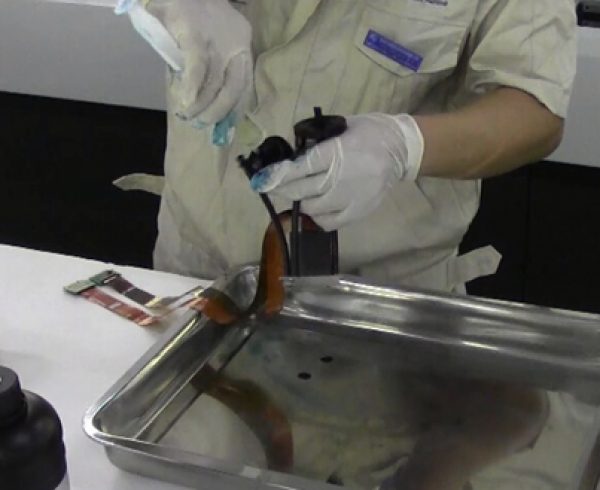
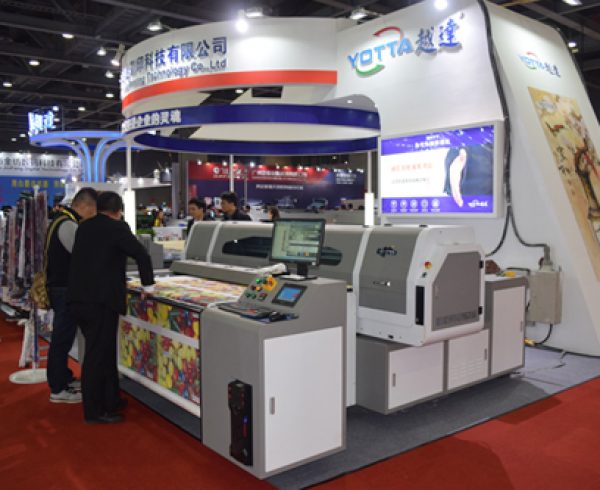
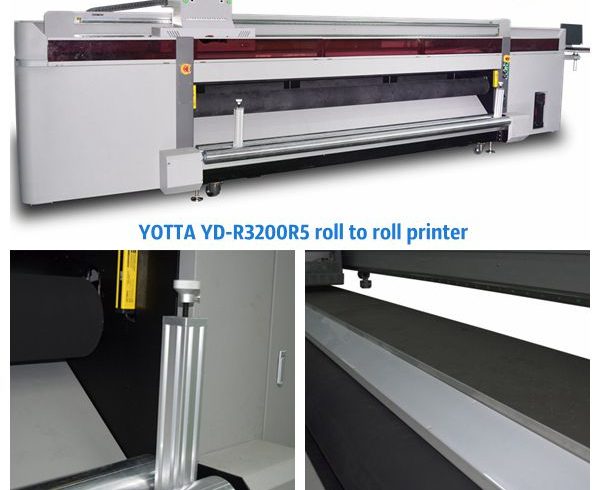
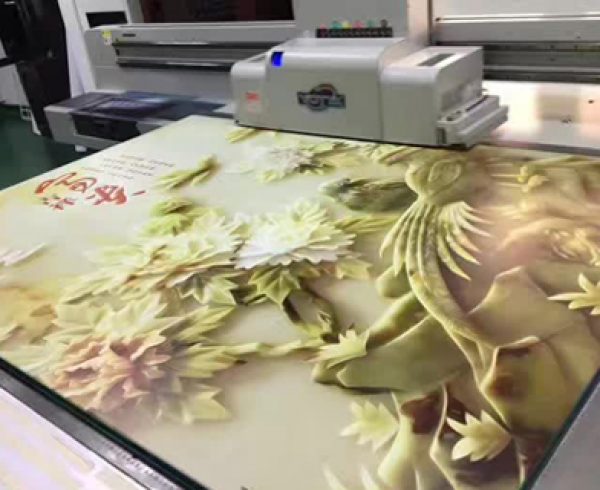
Before answer this question, please allow me to make a brief introduction of our digital UV printers.
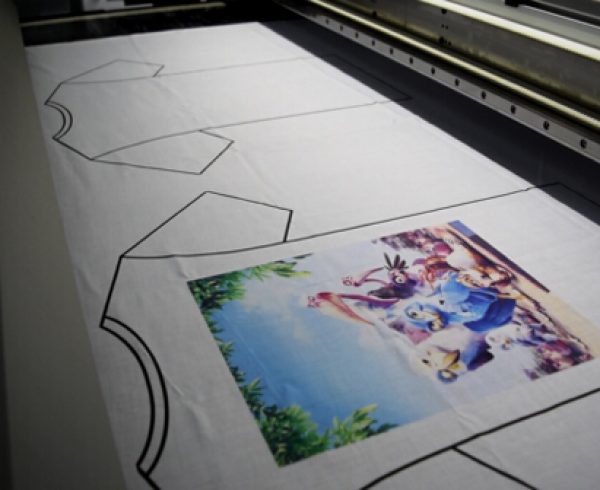
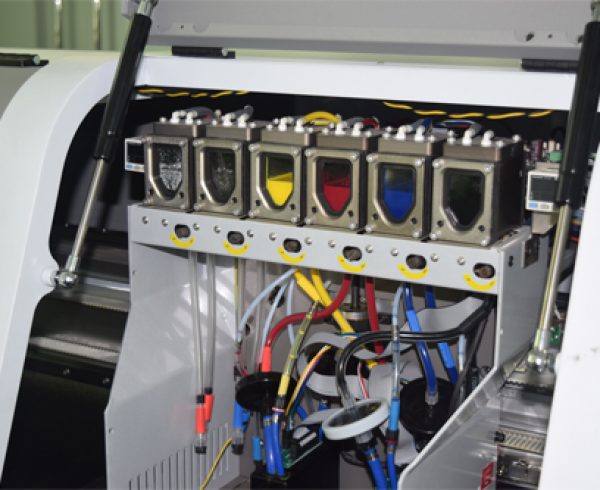
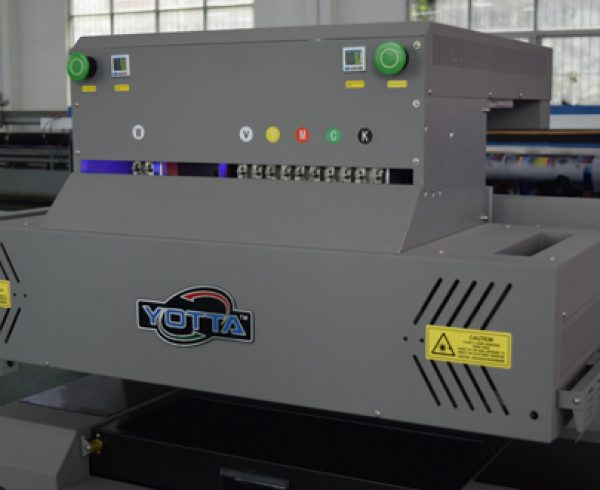
As you can see, our printers use inkjet printing technology which direct jets ink droplet onto substrates to recreate digital images. And most of our machine is in the range of large format inkjet printing equipment – also can be said to be industrial inkjet printer. Compared to a portion of the inkjet printer on the market, YOTTA UV printing machines can be used to print a variety materials, for example, glass, tiles, leather, metal, wood, paper, etc. Besides, our printers are easy-to-use for full-color printing with lots of intelligent function designs.
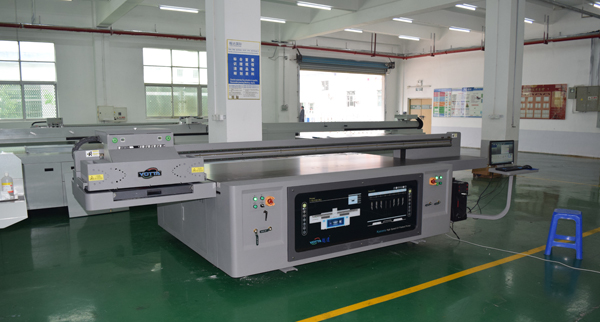
The printing process of our UV LED printers can simply divided into several steps.
Step 1. Start printer and turn on computer, check and adjust the negative pressure value; open UV lamp and fan.
Step 2. After the software display “ready”, perform an ink pressing operation. Adjust the carriage height, print test strip (at the beginning of the day’s print job).
Note: Test strip for white ink is not easy to see clearly. However, printhead for white ink often clog due to negligence. It is recommended to print white ink test strip on transparent materials for easy observation.
Step 3. Place the substrate being printed on printer paltform. Turn on the absorption platform switch. Adjust the carriage height according to the substrate thickness. Some materials need to be coated in advance for stronger ink adhesion, for example, glass sheet printing.
Step 4. Set the image size according to the size of the substrate. Open the image in PhotoPrint, select the corresponding ICC file and send it.
Step 5. Open the picture designed from PhotoPrint in PrinterManager, then set the X, Y origin location, PASS number, print speed, unidirectional or bidirectional print mode, and white ink printing option.
Step 6. Start print. During the digital printing process, it is forbidden to touch the carriage. If there is any emergency, press the emergency switch. The materials can be unloaded once the printing is finished.
Step 7. After the printing finished, the carriage will return to the initial position automatically. Turn off the printer if there is no print job that day. Before turning off the printer, print test strip again and compare the result to the previous. If there is any nozzle clogging, do ink pressing or exhaust operation untill the test strip result is good.
At last, turn off fan, LED-UV lamp, cartridge switch, and printer power.
However, the use of digital UV printing machine still has a lot of important details that need to be noticed. It is better to have technical training before printer operation.

